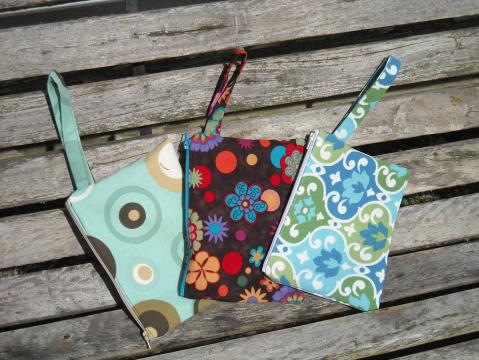
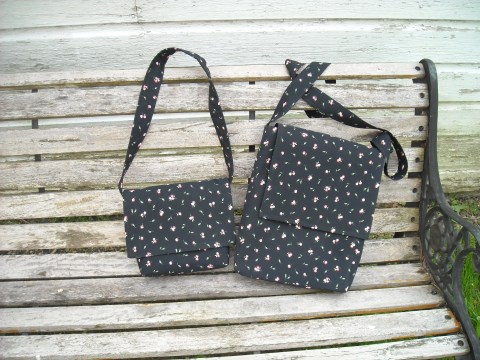
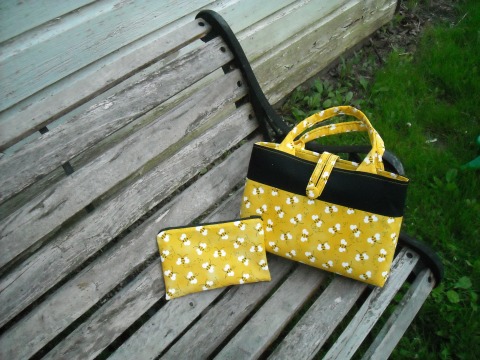
Archive for Crafts

From adult T-shirt to drawstring gift bag…

Here is my first crafting tutorial. I have been into the green craft movement for awhile, looking for ways to re-use what I already have instead of filling the landfills or overburdening the thrift store industry with junk that isn’t worth selling. So each day, yes, daily I read online for new ideas. Craft Gossip is a favorite for new ideas as well as Whip Up and the Craftster communities.

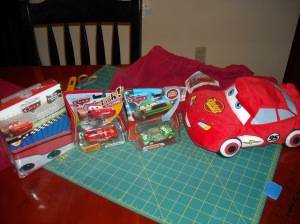
Today I realized I needed a giftbag to wrap up my almost 2 year old grandson’s birthday gifts. He is really into Disney Cars and Lightning McQueen. Can you say Ka-Chow?!!! It’s so cute when he says it. Ok, back to the project.

I recently turned a knit t-shirt into two scarves for me and my granddaughter so I am on the t-shirt recycling kick. I figured my heavier long sleeve red t-shirt, with grease spots and holes in the sleeves would be a good candidate for my next project. It almost became more scarves. But like I said, I had a need. So I figured I could make the drawstring bag for Asher’s gifts and personalize it as well.

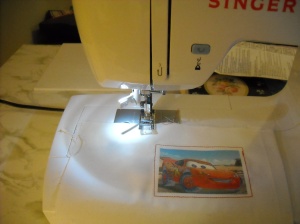
So I found a picture of Lightning McQueen online, printed it on iron-on paper, reversing the images first, and then used some white cloth, doubled, and made my “stickers” for the bag.

For this project, I wanted about three images. Next, I sewed all around each image to join the layers of the white cloth since it was lightweight.

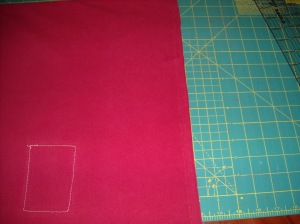
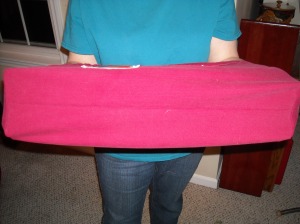
Next, I laid out my t-shirt, it’s an x-large size, so this bag was wider than it’s height but it works out well. See the grease stain? Yeah, not good for wearing now.


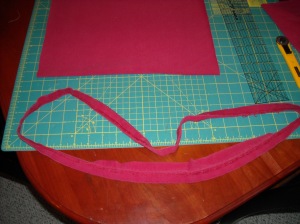
Fold the shirt in half and cut just below the armpit area.  Then cut off the bottom hem and save it, as this will become the drawstring for the bag. Be sure to trim it, the hem was serged so it’s not going to unravel.


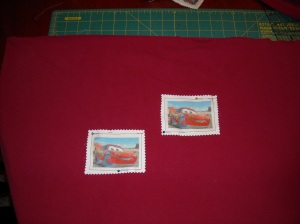
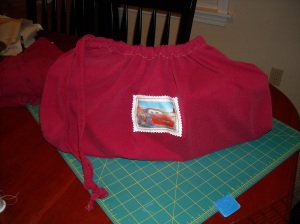
Next I cut the “stickers” with pinking shears and pinned them in place. I put two on one side and the third on the other side. I also wanted there to be no raw edges showing inside so I decided to do a French seam. These are super easy and give a great finished look to any project.

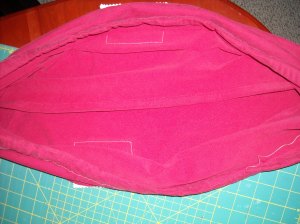
For the French seam, you join the fabric, wrong sides together first and sew with a 1/4 seam allowance. I sewed the bottom of what is basically a tube of fabric from the shirt. Then you turn the fabric right sides together and press that seam allowance. Then sew 1/2 seam allowance on the wrong side. What you have when you are done is this:


This is the inside of the bag, see no raw edges. I did not trim after the first stitching because I used enough of a seam allowance when I turned it to wrong sides together that it didn’t get in the way.

Next, I boxed the corners so there is depth to the bag. I pulled the sides out until there were points, as you can see in the picture. Basically the side seam or crease matches up with the bottom seam. I measured 2 inches from the point, drew a line and pinned. Then sew on the line. Ta-da! You did a boxed corner!

Next, turn down the top hem about 1 inch, making sure there is enough room for the drawstring to be encased. Cut two small slits in one layer of  the casing, again, knit won’t fray so this is safe.

Next, grab two safety pins. Put one pin through one end of the string for threading through the casing and use the other pin to secure the opposite end of the string to the bag so it’s not pulled all the way through.

Here is the bottom seam on the outside, and the inside with no raw edges. All ready to be filled with the goodies for Asher!

The loot all stuffed in. I know there will be one happy 2 year little red haired boy at my house come Saturday!

Comments (3)

New purse for me!

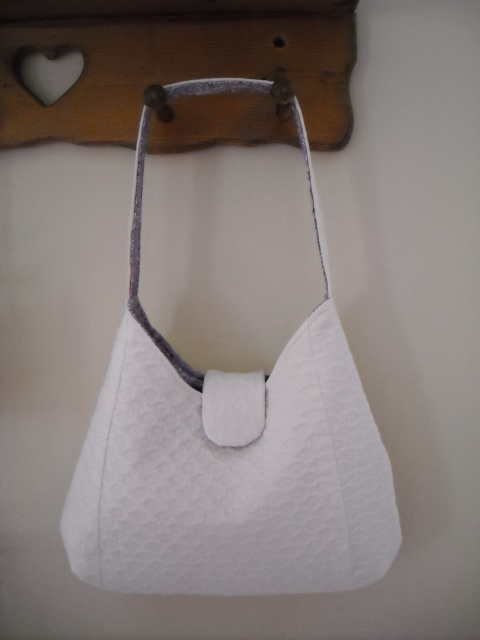
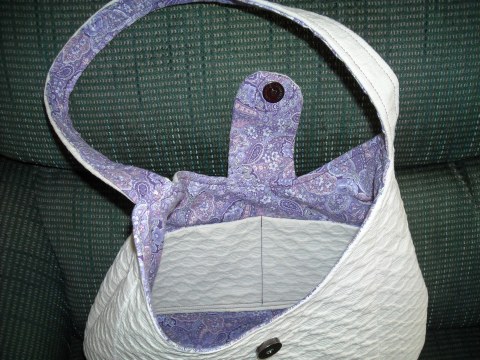
I have a great story behind this purse. First, I found the pattern at Sew Mama Sew’s blog last spring and just could never decide what fabric to use. This past summer, I bought the red fabric for $.10 at a local discount store. It was the only piece of fabric there, and it was about 36 inches wide by about 17 inches high. Again, what does one do with that amount of red floral printed satin?

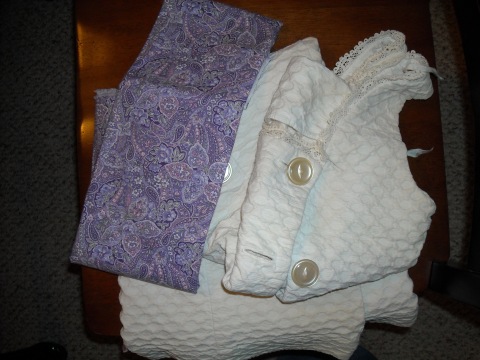
Then I started to take apart my wedding dress. Yes! My dress. It’s made of an off-white, beige really, jaquard print and somewhat heavy.  I knew I could use it for something cool, but what? With the color of beige, it’s not practical for too many things.  So I thought it would work as a purse lining with the red if I found the right pattern.

This is what I ended up with! I made the larger bag of the two in the tutorial.

I hope you enjoyed my post tonight. I loved making this purse. It was so very easy!

Girl Creative

Leave a Comment

Ok so I lied! I will be posting here…

I still love to sew and don’t think my sewing posts should be on the cooking blog, so here I am. I found some great new projects to try and will be posting pictures and links soon. Stay tuned. In the meantime, check out these blogs for some crafting inspiration.

Grace Violet

Vermillion Rules

And for a clearinghouse type of crafting site, I check Craftgossip daily, especially the sewing crafts.

Comments (26)

The finished bag!!!

Next stop, California!

Leave a Comment

The finished purse…

From dress to purse.

Purses-crafts 017

Purses-crafts 019

Comments (2)

New purses and fall projects…

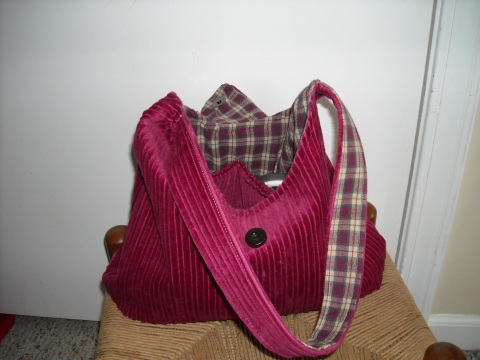
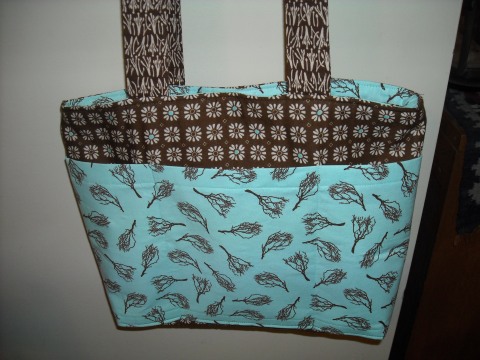
I made this very cute purse using the Phoebe pattern from Beki, artsycraftybabe and I am so pleased with it. It’s my own personal bag and fits my needs perfectly. It was simple to make and I learned how to do darts! I like the look of darts almost more than boxed corners!

Purses-crafts 002

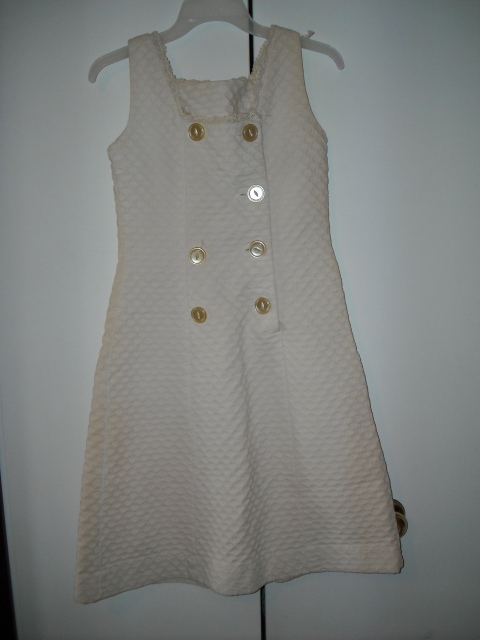
Next up is another bag like this in blue corduroy and a cute print for the lining. And my aunt asked me to make her a purse using her graduation dress, or maybe it’s homecoming dress, either way it was made by her in like 1966 or something. That is when I was born!! lol…Here is the dress-

Purses-crafts 011

This is the lining material with the folded dress. I am so excited to make these cute bags.

Purses-crafts 010

Next up is some fall crafting for more friends and deciding on gifts for Christmas that I want to make. I am thinking felt food for Elizabeth and an I Spy quilt for Asher and Isaiah. Oh yeah, Brittany is expecting twins next May! We are all very excited about that bit of news. So happy fall crafting!
Comments (2)

Visiting day

Today I visited with my grandbabies. These are the ones that don’t live near me, the red-headed babies. I love them to pieces! I made them a few gifts and took them to them today. Here is what I made and then here they are with their gifts. Like I said, I love my grandbabies!!!

Leave a Comment

A new purse for me.

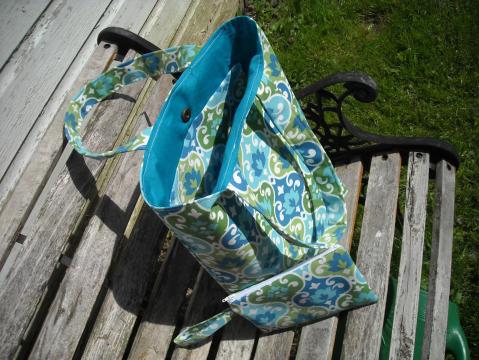
I tried a tutorial that said “1 hour purse”! lolololololol…..yeah right. The pattern needed drawn out by me, since hers was not printable. Then I added a flap closure as well so that took some time. I made a few mistakes, which I had to pick apart and re-sew but in the end, I have a fun new purse for me!  Tell me what you think.

The other picture is one of my set of matching hand embroidered flannel backed burp cloths.

Leave a Comment

My finished project

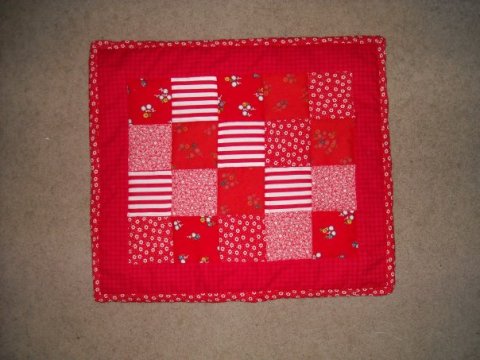
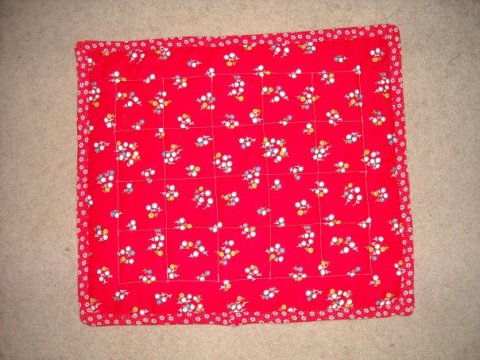
My latest project was to try and make a quilt, doll sized, that way if it didn’t work out the waste wasn’t too much. A friend gave me a whole bag of fabric, mostly tiny florals and calico-types so I figured that was a good place to start. First I had to wash, dry and press tons of fabrics. Then I sorted them by color to see what I had the most of. Red, blue and purple are the main colors so I chose to make a quilt of the reds. I really like how it turned out.

quilt

quilt2

My boys think I can make just about anything now! lol…they said I should make doll clothes too. I don’t think I enjoy making clothes, gathers and ruffles frustrate me. But this quilt was fun. I have another one all cut and ready to sew for a special friend’s daughter. I hope it looks as good as this one.

Leave a Comment

A couple of my latest projects.

Thought I would share a few pictures.

Carrie's purse 003

May 19 003

May 19 006

mommy and me 001

Purse 001

Comments (3)

Older Posts »